
Export your video
When your video is ready, open the Export tab in step 6. You can make an MP4 on your own computer, or take the source files to a video editor. Both are free.
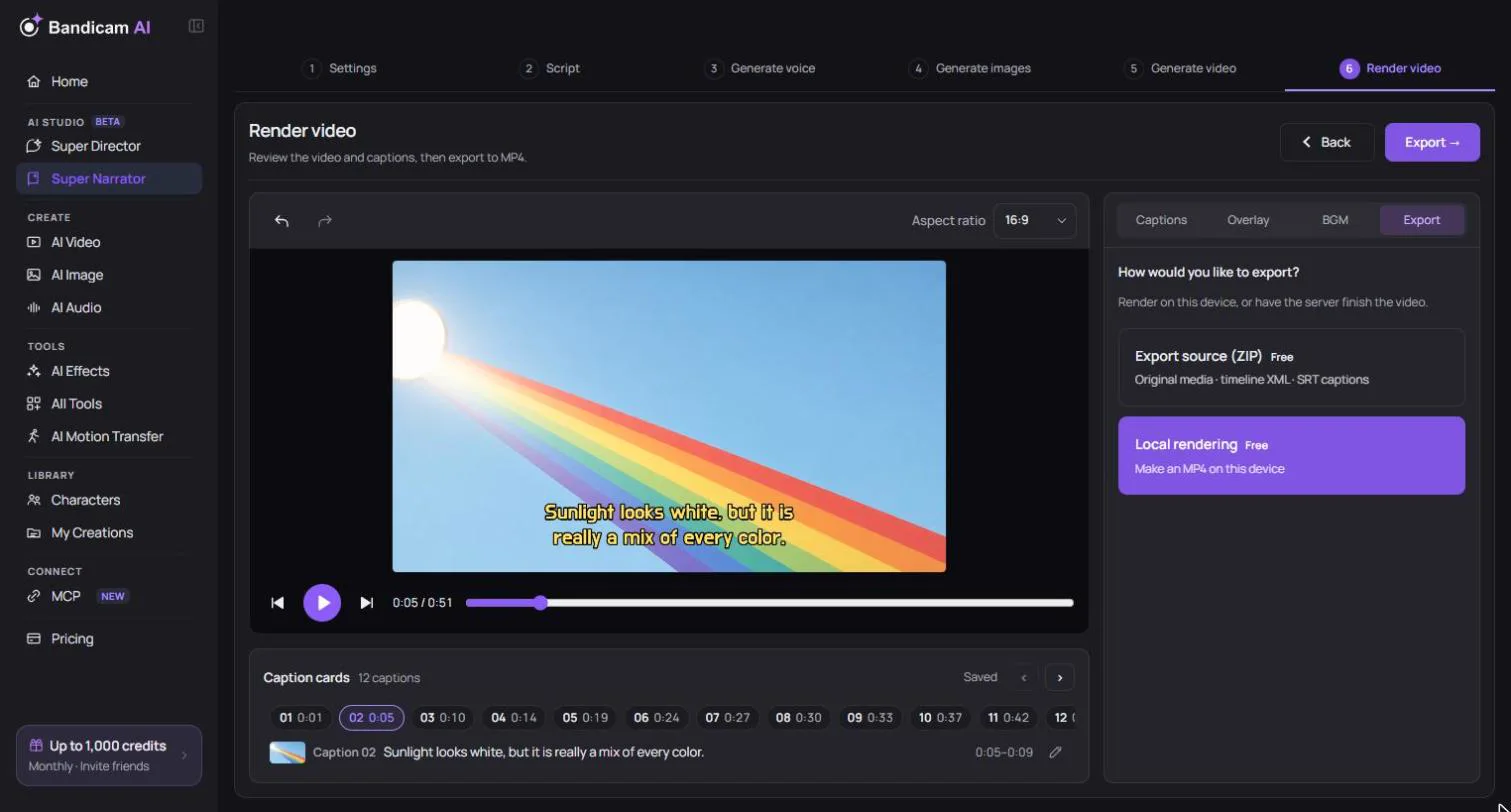
Make an MP4 (local rendering)
- Press Local rendering. Rendering starts right away.
- Keep the tab open and on screen until it finishes. Rendering happens on your computer, so switching to another tab or minimizing the window can slow it down or stop it. A long video can take a while, depending on your computer.
- When it’s done, press Download finished MP4. You can also press Download current captions (SRT) to upload captions separately, for example to YouTube.
Download before you leave: The finished MP4 is kept only temporarily in your browser, not in your library or online. Download it before you close the page.
The MP4 is 30 frames per second, at 1280×720 for 16:9, 720×1280 for 9:16, 720×720 for 1:1 and 720×960 for 3:4. To export in another shape, change Aspect ratio above the preview: choosing 1:1, 3:4 or 9:16 there makes a vertical 720×1280 video with the picture placed in the frame.
If you edit the project after rendering, the export tab shows Changes not included. Render again to get a video with your latest edits.
Which browsers work
Local rendering uses newer browser features. It works best in the latest Chrome or Edge on a computer. If you see “This browser doesn’t support local rendering”, open the project in one of those. Phones and older browsers may not be able to render.
Keep editing in a video editor (ZIP)
Export source (ZIP) downloads everything you need to finish the video in Premiere Pro or DaVinci Resolve:
mediafolder — the original pictures, clips, narration and musictimeline.xml— the edit: cut placement, narration, music and volume, caption text and timingcaptions.srt— the captions as a subtitle filetimeline.jsonand a readme — settings the XML can’t hold, and import instructions
- Extract the whole ZIP into one folder.
- In Premiere Pro or DaVinci Resolve, import
timeline.xmlas a timeline. - If media shows as offline, relink it to the
mediafolder. In Premiere Pro, link one file and the rest relink by name. - If the XML captions did not import correctly, import
captions.srtinstead. Remove or disable the XML caption track first to avoid duplicate captions.
Caption fonts, boxes, outlines and shadows, overlay text, panning effects and music fades aren’t carried over in the XML; add them in your editor if you need them. CapCut can’t import the XML, but you can rebuild the video from the media folder and the SRT. The ZIP can include up to 512 MB of original files.
Common messages
“3 cuts have no image or video. Add media first.”
Every cut needs a picture or clip. Go back to the image step and generate or upload the missing ones.
“Check the cuts that need review first.”
Some cuts were marked Needs review after the script changed. Open each one, check its picture and length, and choose Mark this cut as reviewed.
“The script has changed. Generate the voice again, then render.”
The narration no longer matches the script. Regenerate the voice in step 3, then render.
“The original voice has expired.”
Choose Export MP4 without voice to keep the captions and timing without narration, or generate the voice again.
“Local rendering failed. Please try again.”
Keep the tab in front and try again. Close other heavy tabs or apps, and make sure your computer isn’t going to sleep. If it keeps failing, see Super Narrator problems and messages.