Select, Fill and Erase
Selections limit what the next action affects. The eraser has three behaviours, so you can remove a drawing without touching the picture, or cut a hole to transparency.
How to
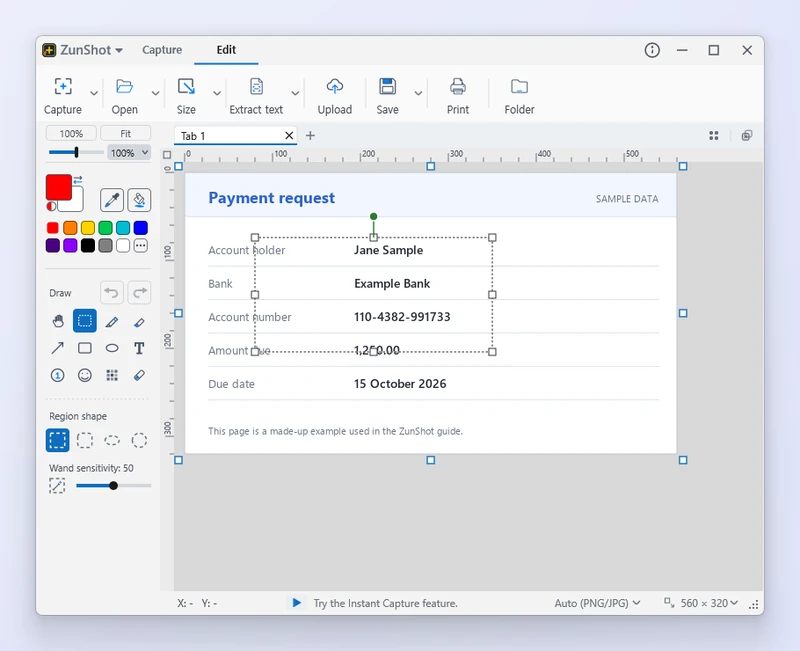
- Select an area. Choose Select and drag. Region shape can be Rectangle, Rounded Rectangle, Circle or Ellipse. Choose Line (follow cursor) for a free-form outline.
- Or use the Magic Wand. Click a color to select every connected pixel of a similar color. Adjust the tolerance in the options bar.
- Act on the selection. Copy, cut, crop to selection, fill, blur or delete. Arrow keys nudge the selection by one pixel.
- Erase. Choose Eraser and a mode: Erase drawing removes annotations only, Fill with background paints the background color, Transparent erases the pixels themselves.
Make the background transparent
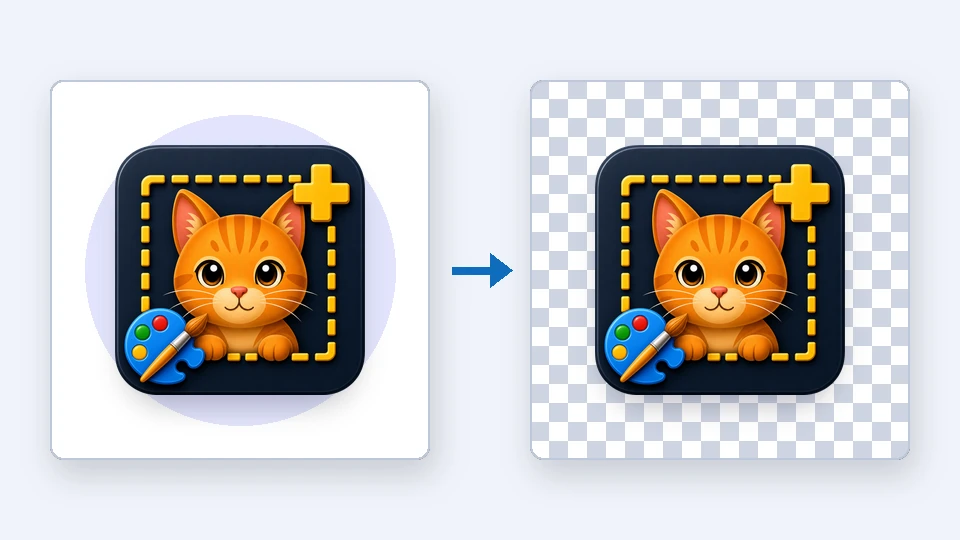
Select the background with the Magic Wand and press Ctrl+Delete. The selected area becomes transparent, shown as a checkerboard. Save as PNG or WebP to keep it. Plain Delete fills the selection with the background color, and Shift+Delete with the drawing color.
Tips
- Fill pours the drawing color into a connected area. Lower the sensitivity when it leaks into neighbouring areas.
- Transparent erasing is kept in PNG and WebP. JPG has no transparency and shows white instead.
Frequently asked questions
How do I deselect?
Press Esc or click outside the selection.
Can I move the selected pixels?
Yes. Drag inside the selection with the Select tool active.